Scrappy Quilts
by Angela Stanley (@akickinthestash)
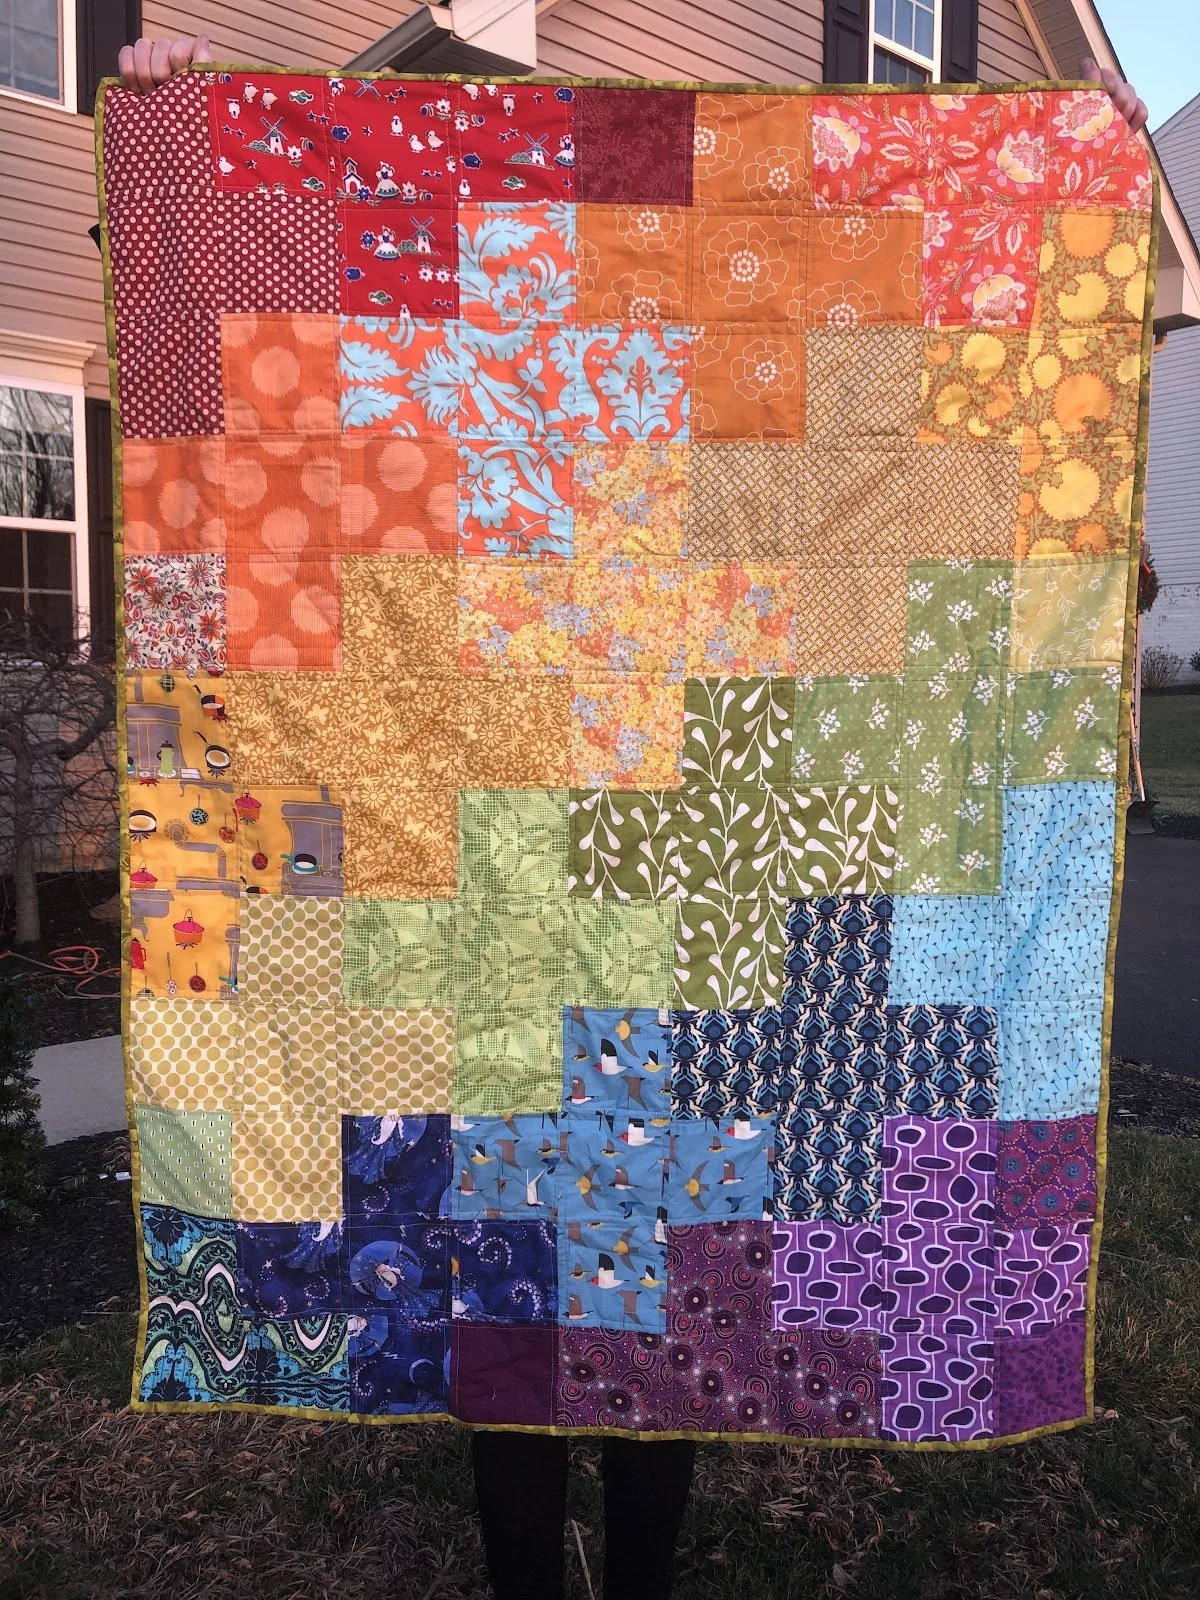
This month’s charity quilt challenge is “scrappy cohesive.” It’s no secret that I love a good scrappy quilt! After many years of quilting, I’ve amassed quite a bit of scraps! Using scraps left over from other projects is a great way to make that treasured fabric last just a little bit longer. My kids love finding bits of fabric that were in their baby quilts in some of my more recent makes.
First, let’s talk about what defines a “scrap” and how I organize my scraps.
The term “scrap” definitely means different things to different people. I know folks who keep (and use!) scraps down to 1.5” square. Postage stamp quilt, anyone?! Other quilters define a usable scrap as something quite a bit larger. Scrap quilts don’t necessarily need to contain only remnants from other quilts either. I definitely catch myself buying random fat quarters to round out my scrap color assortment.
Every 6 months or so, I try my best to corral my scraps into some sort of order. Here are the ways that I sort and store my scraps:
By color—usually these shoebox sized bins hold fabric from about a FQ down to about a 10” square (smaller pieces go elsewhere)
By designer—I have a bin of Kaffe and a separate stash of Alison Glass that I’ve collected over several years. Because I make primarily scrappy quilts these days, I am getting away from keeping designers separate because I am finding that I don’t use them as much as I would if they were sorted into my color bins.
By size— anything less than about 10” square gets sorted by size into 5” strips of varying lengths, 5” square, 2.5” strips of varying lengths, 2.5” x 4.5” (THE perfect shape!), 2.5” square, 1.5” strips of varying lengths. I wish I could say that these are neatly tucked into their own bins, but no. They end up in little piles all over my cutting station!
By type—Any specialty substrates get their own bin. This includes canvas, cork, and selvages.
It’s easier to get inspired with a well tamed scrap pile, so take a little bit of time this evening and get started! I love taking before and after pictures of my scrap pile to keep myself motivated.
Even with your scraps somewhat organized, sometimes it’s still hard to imagine that there is a to-be-made quilt hiding in there. Sometimes it still feels like a jumbled mess! My go-to tip for bringing cohesion to a pile of scraps (or pretty much any other group of items) is to put everything in rainbow order. Everything. Always. My bookshelf—rainbow order. My closet—rainbow order. You see where I’m going with this… You can work in any color and it always has a place to be. Everything belongs.
If you tend to be a quilter who sticks to a more limited color palette, bring cohesion to your scraps by choosing just one or two complimentary colors to work with. If I have a particular color whose scrap bin is overflowing, I pair it with a variety of low volume fabrics and make a two-color quilt.
There are so many traditional quilt designs that can be given a modern facelift by using scraps in place of solids.
Let’s get to the good part—the quilt challenge! I have recently come to love the 2.5” x 4.5” rectangle as the perfect size for my smaller scraps. In this tutorial, we will be using a variety of colored rectangles, paired with an assortment of low volume rectangles also cut to 2.5” x 4.5”. This super simple design makes for a quick project and I think it shows off the rainbow gradient very nicely! I don’t know that this pattern has a name, so I’ll just call it the Elongated Checkerboard. This one measures 40”x 48” but is easily scaled up by adding additional columns and rows.
Pair one color and one low volume rectangle to make the following unit. You will need 120 of these units to make the quilt pictured. I usually just sew up a whole bunch of these blocks in a variety of colors all at once and arrange and fill in as necessary. It’s scrappy, so the less (over)thinking, the better!
Decide how you’d like to arrange your block units. The layout above is 10 blocks across and 12 blocks down.
Now on to the quilting! This quilt layout lends itself very easily to straight line quilting following the vertical and horizontal seams. I’ve also quilted a version of this quilt with figure eights in the low volume rectangles. If you’d like to practice your free motion quilting, an all-over swirly pattern would also look nice to contrast with the grid nature of the piecing. If you’re feeling really ambitious, try adding some big stitch hand quilting along the horizontal seams.
Thanks for following along with me this month! I hope you are inspired to dig deep into your scrap bin and pull out a rainbow!


