Guild member Lisa always has such creative binding on her quilts and creates a lot of charity quilts for the guild, so we asked her for her best tips on binding — here they are!

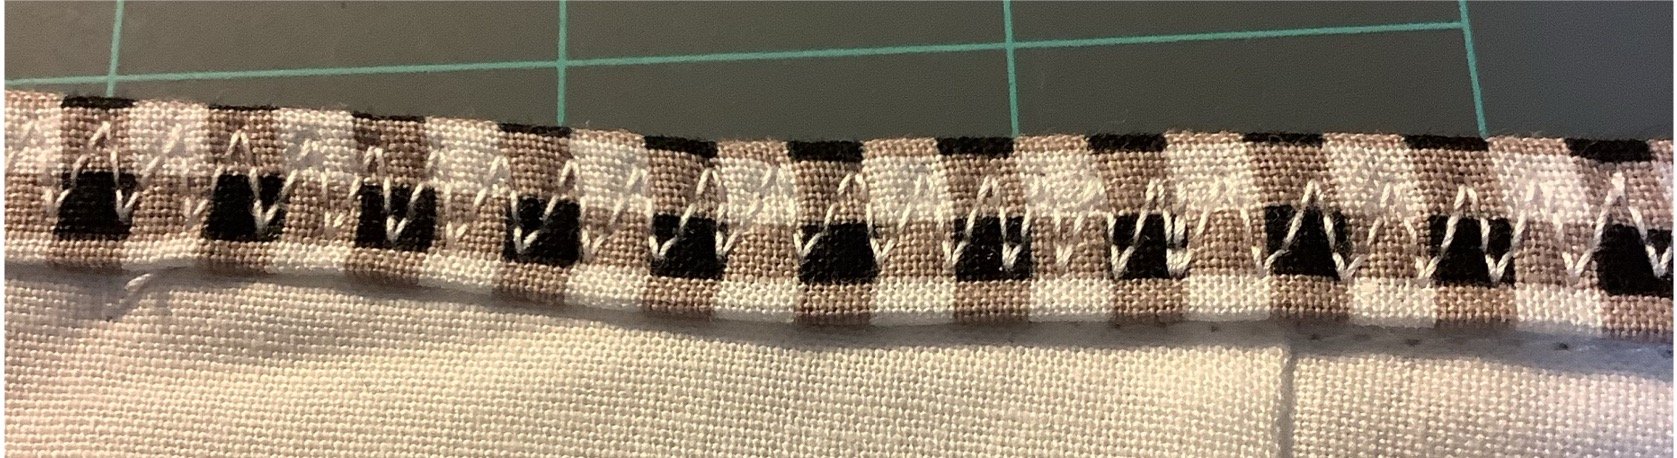
•Instead of stitching the edge of the binding, this technique secures the binding by using a decorative stitch that covers the entire binding.
•Provides a secure binding.
•Provides a fun, decorative accent.
•Use for a secure binding for charity quilts.

Getting Started
•Attach your binding in the usual way.
•It doesn’t matter whether you sew it to the front or back.
•Be sure to press the binding flat. Turn the binding to the other side and press, being sure to press the corners.
•You can glue and clip the entire binding or just the corners.

Sewing the binding down
•Set up a decorative stitch on your machine.
•Place the foot on top of the binding and sew.
•Holding, pinning, clipping, or gluing down the mitered corner, make the turn.
•Sew around the quilt until you get you where you started.

Choosing a decorative stitch
•It’s a good idea to make a sample quilt sandwich and test out decorative stitches. Be sure to test making the turn at the mitered corner. Use the same binding width and batting you’ll use on your quilt.
•Avoid overly dense stitches.
•Don’t be afraid to try a stitch you’ve never used.